
Hot Categories
Is your food truck leaking profits? These 5 insulation secrets cut waste by 60%2026-10-12
Blog | 2026-08-11 09:37:13
If your food truck is losing money through poor insulation, these five smart insulation secrets can help you cut waste by up to 60%, boost energy efficiency, and lower daily operating costs. From reducing heat loss to stabilizing interior temperatures and protecting equipment performance, better insulation can make a major difference in both comfort and profitability. Learn how simple upgrades and practical insulation choices can keep your truck running more efficiently, reduce unnecessary energy drain, and help you save more every day.
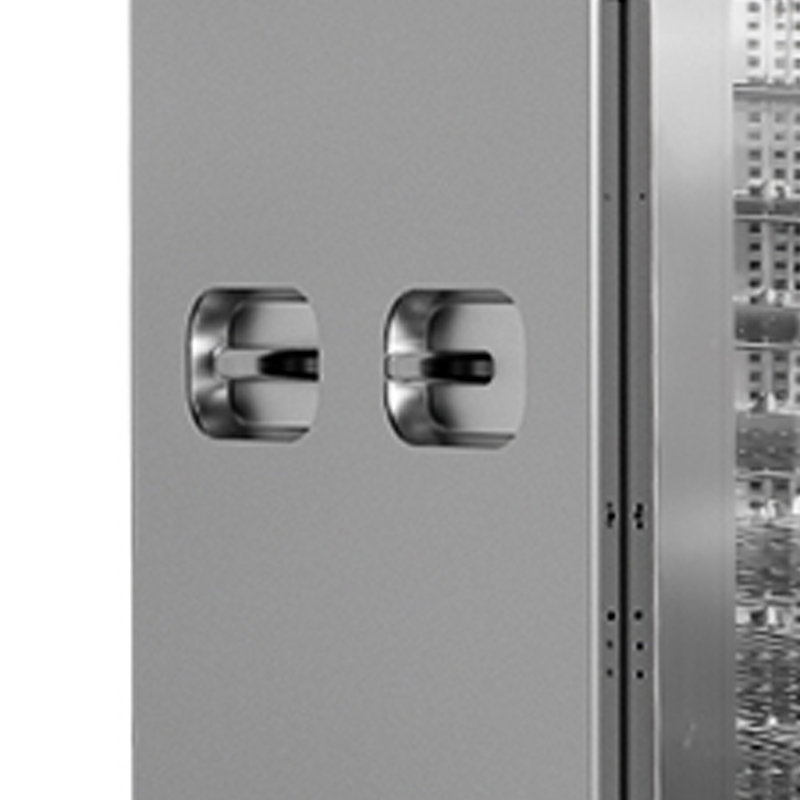
Stop Leaking Cash: 5 Food Truck Insulation Hacks That Cut Waste
I have seen the same problem in many food trucks: the heat escapes, the cold air slips out, the HVAC or fridge works harder, and the daily waste keeps growing.
The leak is not always obvious.
One owner I spoke with in a busy taco truck thought the issue was the fridge door. The real problem was a weak seal around the service window and thin wall panels near the prep area. Cold air left fast. Hot air came in. The fridge ran more often, the prep space felt warmer, and ingredients did not stay stable for long.
That is why I focus on insulation before I look at bigger equipment costs. Small fixes can lower waste, protect food quality, and ease the load on your systems.
- Check the door seals and window edges
I start here because these are the easiest places for air loss.
A worn rubber seal can let hot air move inside the truck. A loose window edge can do the same. That extra air changes the temperature around your food, your fridge, and your staff area.
What I do:
- close the door and look for light around the edge
- run my hand near the frame to feel for air movement
- press the seal and check for cracks, flat spots, or gaps
- replace weak seals before they fail fully
A small strip of weather seal tape can help in some spots. It is not a cure for every problem, but it can reduce obvious leaks. I like this step because it is cheap, clear, and easy to test.
- Add insulation where the truck gets the most heat
Not every part of the truck needs the same treatment.
The roof, wall near the cooking area, and floor near metal framing can take on more heat than people expect. Sunlight on a parked truck can turn the roof into a hot surface very fast. That heat travels down into the space where food sits.
What I use:
- foam board for selected wall sections
- reflective insulation near the roof
- thermal mats near the floor, if the layout allows it
- heat-safe lining around problem areas close to cooking equipment
I like to map the hottest spots with a simple temperature check. A basic infrared thermometer works well. I compare the roof, the wall near the grill, and the storage area. The largest gap tells me where to start.
A sandwich truck in Phoenix once cut a lot of fridge strain after adding reflective lining above the prep area. The owner said the fridge stopped cycling as often during peak lunch hours. That did not solve every issue, yet it made the truck easier to manage.
- Separate hot zones from cold zones
Many trucks lose money because hot and cold items sit too close together.
A fryer near a fridge, a griddle beside ingredient storage, or a coffee machine next to dairy products can create a steady problem. The cold equipment works harder. The hot side gives off more heat. The middle area becomes unstable.
What I do:
- move cold storage farther from cooking heat
- use a simple divider panel where the layout allows it
- keep lids on pans when food is not being used
- place heat-producing tools away from sealed ingredient bins
This step feels basic, yet I see it ignored often. I once walked into a dessert truck where the topping cooler sat next to a hot drink station. The owner kept replacing whipped cream that softened too fast. After the layout changed, product waste dropped because the cooler had less stress.
I prefer layout fixes because they use space better. They do not rely on fancy gear. They rely on common sense and a close look at daily workflow.
- Seal the floor and hidden gaps under cabinets
Air and moisture do not only move through doors.
They move through small gaps under sinks, behind panels, around cabinet edges, and along the floor line. These open spots can pull in outside air, dust, and humidity. That affects comfort, food quality, and the life of your equipment.
What I check:
- gaps under counters
- open seams near plumbing
- spaces behind storage cabinets
- weak joints at the floor edge
A food truck in Atlanta had a damp smell that kept returning. The owner kept changing mats and cleaning more often. The real source was a gap near the sink base where moisture got trapped. Once that area was sealed and dried out, the smell eased, and the truck stayed cleaner through the week.
I like using food-safe sealants and materials that hold up under cleaning. Moisture control matters. When water sneaks into hidden areas, the damage tends to grow quietly.
- Use insulated covers for items that stay open during service
Some waste does not come from the truck walls. It comes from open containers.
Salsa pans, garnish bins, sauce bottles, and dairy containers lose temperature fast when they sit exposed during a rush. That leads to faster spoilage, more refills, and more stress on the cold side of the truck.
What I use:
- insulated lids for ingredient pans
- thermal covers for transport bins
- cold packs for backup product during long service
- small portion containers so only the needed amount stays out
I prefer this hack because it protects the food that gets handled most often. It also helps staff move faster. They do not need to keep checking the same open bin.
A burrito truck I watched in Houston had a simple habit: only half the backup cheese stayed in the cooler, and the rest sat open during lunch. That small choice created more waste than the owner expected. After switching to smaller refill batches and insulated storage, the team threw out less product at the end of the shift.
My view is simple.
If I stop heat loss, I stop a chain reaction. The fridge works less. The prep area stays steadier. Food lasts better. Staff feels less pressure. I also spend less time dealing with tiny problems that grow into bigger ones.
If I were starting from zero, I would look at the seals, the roof, the layout, the hidden gaps, and the open containers. That order saves time because it starts with the places that lose the most energy.
I do not treat insulation as a side task. I treat it as part of the food truck’s daily profit control. When I keep the inside of the truck more stable, I protect the food, the equipment, and the work behind each service rush.
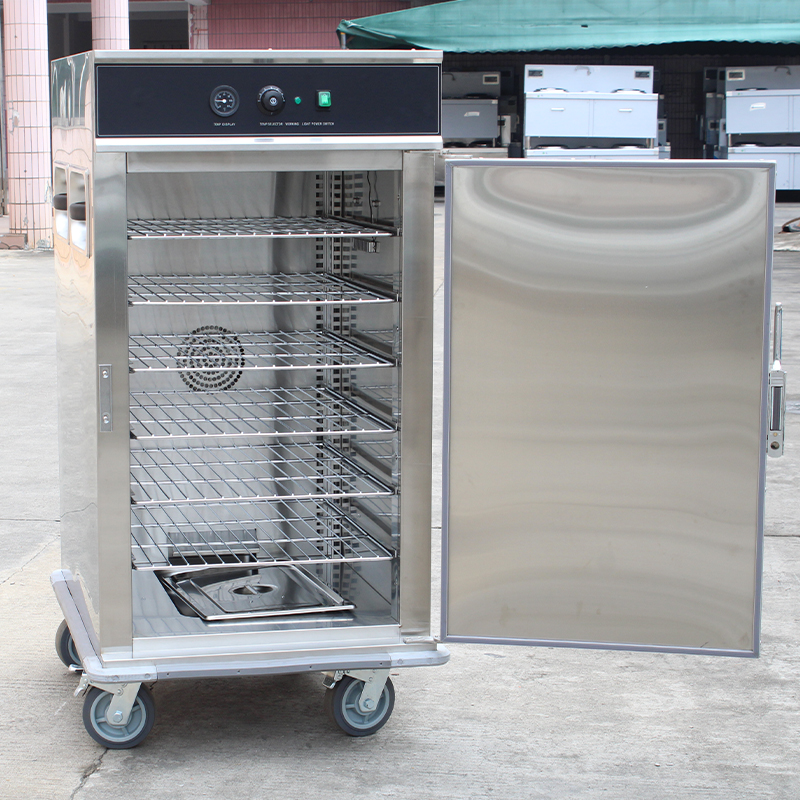
Food Truck Losing Money? These 5 Insulation Tips Save More
I used to think my food truck had a sales problem.
Customers were coming. The menu was steady. The real leak was hidden in plain sight. Heat escaped through weak walls, cold air got in, and my equipment had to work harder all day. My fuel bill went up. My prep area felt uneven. My staff kept adjusting things that should have stayed stable.
That is why I treat insulation as a profit tool now.
If your food truck is losing money, I would start here.
- Seal every gap you can find
I walk around the truck and look for small openings near doors, windows, service hatches, vents, and floor edges.
Tiny gaps matter. They let air move fast, and that makes the inside harder to control.
I use weather stripping, door seals, and heat-safe caulk where it fits. I also check the seals after heavy use, since vibration from driving can loosen them.
A small leak can create a bigger bill than most owners expect.
- Protect the roof first
Heat rises. Sun hits the roof all day. If the top of the truck is weak, the whole space feels it.
I pay close attention to roof insulation because it affects comfort and machine load at the same time. A better roof setup helps the inside stay more even, and my cooler or heater does not have to fight as much.
I also check for soft spots, water marks, and damaged panels. If the roof has problems, I deal with them early. Waiting usually costs more.
- Insulate the floor
The floor is easy to ignore. I ignored it once, and I felt it every winter.
Cold comes up through the bottom. Heat can escape the same way. A thin floor or poor underlayer can make the whole truck uncomfortable, even when the top looks fine.
I like to add insulation under the flooring where possible. I also make sure the base layer stays dry, since moisture can ruin the material and bring new problems.
When the floor feels stable, my staff works better and my prep area stays easier to manage.
- Keep hot and cold zones apart
I used to place equipment based on convenience alone. That was a mistake.
A fryer next to a cooling unit makes both sides work harder. A prep station near a hot wall can warm ingredients faster than I want. That means waste, slow service, and more strain on the truck.
I now map the truck by temperature.
Hot tools stay where they can breathe.
Cold storage stays away from heat.
Prep areas stay in a stable zone.
This setup does not just help comfort. It also helps food quality and equipment life.
- Check insulation after every repair
A truck changes over time. One repair can affect another area. A new panel may leave a small gap. A fresh vent may shift airflow. A wire run may break a seal you relied on before.
I learned to inspect insulation after any work on the truck.
I look at the repaired area, the nearby seams, and the surfaces around it. If I see wear, I fix it before it spreads. That habit has saved me from repeat problems more than once.
One winter, I saw a driver keep a small service door slightly loose because it was easier during rush hours. The truck lost heat nonstop. The issue was not the heater. It was the seal. One strip of weather seal made the truck feel different the same day.
That kind of fix is what I trust.
If your food truck feels too hot, too cold, or too costly to run, insulation is one of the best places to look. I do not treat it as a side task anymore. I treat it as part of daily profit control.
A tight truck keeps conditions steadier, helps equipment work with less strain, and gives me more control over operating costs.
That is the kind of change I want in my own business, and it starts with the parts most people do not check.
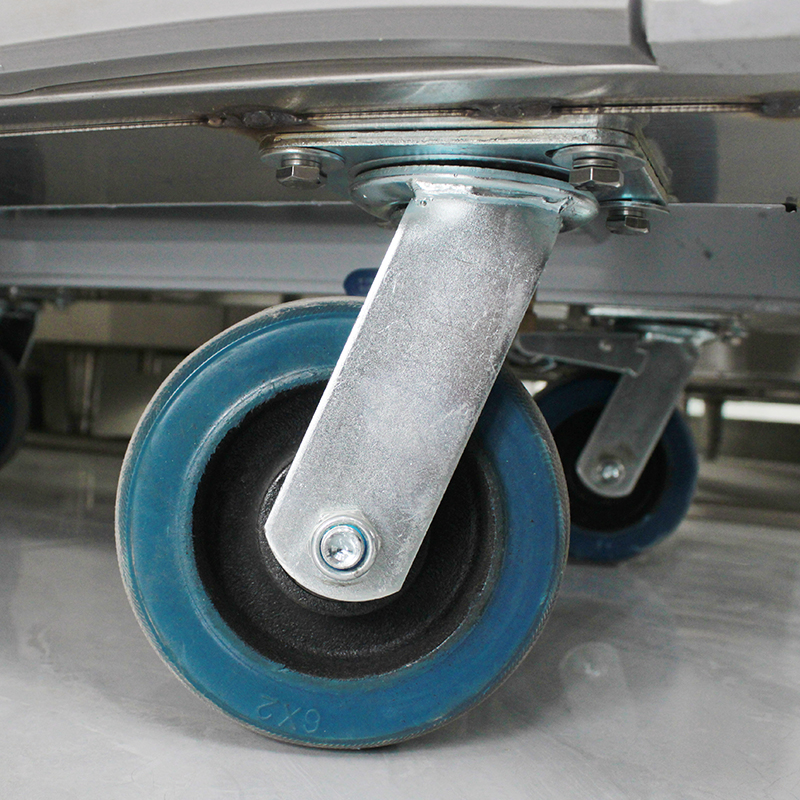
Cut Food Truck Waste Fast: 5 Insulation Secrets That Work
When I run a food truck, waste shows up fast. Food cools too much, ice melts, sauces spill, and the fridge works harder than it should. I have also thrown out meals that lost texture before I could sell them. That kind of loss feels small in the moment. It adds up by the end of a busy shift.
Good insulation changed how I handle it.
I do not treat insulation as a back-of-house detail. I treat it as part of the way I protect food, save prep work, and keep service smooth. Here are the five moves I use most.
- I seal hot food tightly
Hot food loses quality fast when steam escapes.
I use insulated carriers, tight lids, and food-safe liners for soups, rice, chili, and cooked proteins. I keep the lid closed until I serve. I also check the edges of each container, since small gaps let heat slip out quicker than most people expect.
A taco truck I helped with had a simple problem. Their carnitas stayed hot at the start of lunch, then turned dry before the rush ended. After they switched to better insulated trays and tighter lids, the food held up better through service. The change was small. The waste dropped.
- I match the cooler size to the prep load
A big cooler with very little food inside wastes cold air every time the door opens.
I use smaller insulated bins for cut fruit, salad mix, dairy, and sauces. I also separate prep items by use, so I do not keep opening one large unit for everything. This helps me keep temperature steadier and reduces spoilage.
I learned this after a summer week when I kept a half-full cooler running all day. The motor worked hard, the ice softened early, and I threw away greens that should have lasted longer. Once I switched to better-sized containers, my storage became easier to manage.
- I keep heat away from cold storage
A fryer, grill, or steam table can warm up nearby cold storage more than people realize.
I leave space between hot equipment and cold prep zones. I also use insulated panels or dividers where the truck layout allows it. Air flow matters too. If hot air gets trapped around the fridge, the unit has to fight harder just to hold its temperature.
This is one of those fixes that feels plain, yet it helps every day. I notice less frost, less sweating on container lids, and fewer temperature swings when the truck gets crowded.
- I use tight containers during transport
Food moves around a lot on the road.
If a lid is loose, sauces leak. If a bin is weak, food shifts and cools too fast. If a carrier leaves room for air, the heat or chill does not stay stable. I use stackable containers with tight seals and clean fits before I move anything from prep to service.
I saw this on a burrito truck near me. Their salsa cups kept spilling during transit. They lost product, and the prep area got messy fast. After they changed to better sealed inserts, cleanup got easier and the food held better during the ride.
- I check seals and insulation wear every week
Foam breaks down. Gaskets crack. Doors stop closing as tightly as they should.
I check every cooler door, pan carrier, and insulated box for soft spots, loose edges, and worn seals. I also look for condensation, since extra moisture often points to a weak barrier. One damaged strip can turn into steady waste if I ignore it.
I had this happen on a hot afternoon. One freezer door seal looked fine at a glance, yet cold air was leaking from one side. I noticed it only after ice formed in the wrong place and the unit started cycling more often. The repair was not hard. The wasted product before that was.
My view is simple.
Food truck waste usually does not come from one big failure. It comes from small leaks, bad fits, weak seals, and storage that does not match the job. I save more food when I protect temperature from the start.
If I want less waste, I start with the box, the lid, and the seal. That is where the result shows up during a busy service, when every tray, every scoop, and every cold drink needs to stay ready for sale.
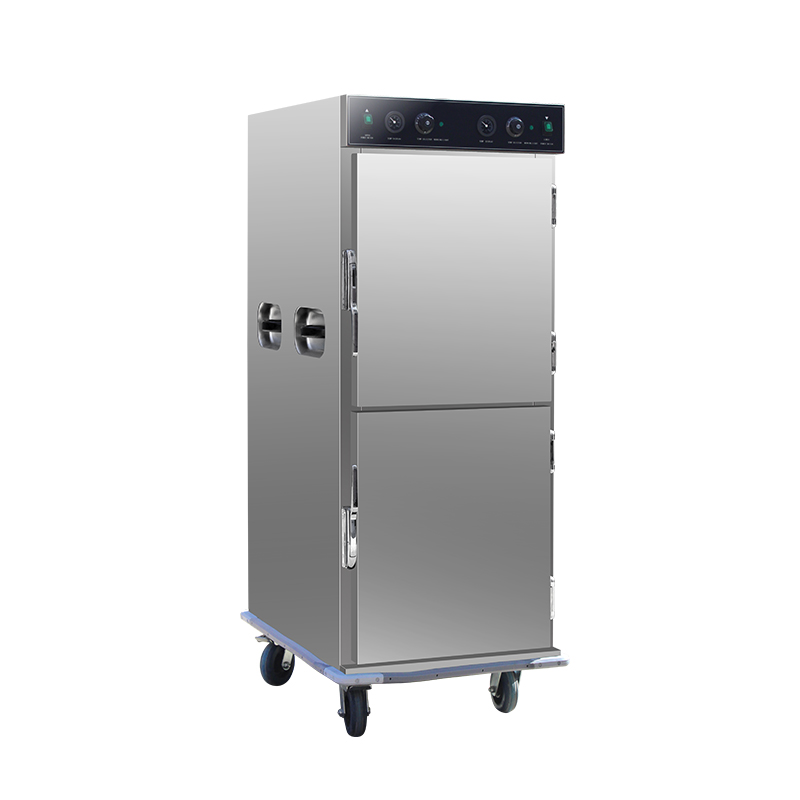
5 Easy Insulation Fixes to Keep Your Food Truck Profitable
I run a food truck, and I learned fast that insulation is not just a building detail. It affects my fuel use, my fridge load, my kitchen comfort, and the way my food holds up during service.
When my truck felt too hot in summer and too cold in winter, I saw the same pattern again and again.
The cooler worked harder.
The AC stayed on longer.
Ice melted faster.
Staff got tired sooner.
My profit slipped in small pieces.
That is why I started treating insulation like a daily business tool, not a side repair.
- Seal the weak spots around doors and windows
I check the door edges, window frames, service hatch, and any spot where air leaks through.
A thin gap can let hot air rush in during lunch rush. It can also let cold air escape when I am parked in cooler weather.
I once found a gap near the rear door seal on my truck. It looked small. The fix was simple: I replaced the worn seal and added a tighter latch adjustment. The inside temperature stayed steadier, and my cooler stopped cycling so often.
I look for:
- cracked rubber seals
- loose window trim
- gaps near hinges
- worn latch pressure
- places where dust collects from airflow
I fix these first because the cost is usually low and the result is easy to feel.
- Upgrade roof and wall insulation where heat hits hardest
The roof takes the most abuse. Sunlight sits on top of the truck for hours, and the heat pushes straight into the kitchen.
I noticed this on a summer event in Texas. My prep counter near the roof line felt warm before noon. My crew kept opening the fridge, and the compressor never seemed to rest. After I added better roof insulation, the inside felt more stable and the fridge did less work.
I focus on:
- roof panels
- upper wall sections
- areas near cooking equipment
- corners that feel hotter than the rest of the truck
I do not just add material anywhere. I check where the heat enters most, then I target those spots.
- Protect the fridge and freezer from outside heat
My refrigeration system can lose money fast when insulation around it is weak.
If the unit sits near a hot wall, a warm floor, or a sunlit side panel, it uses more power than it should. That affects battery life, generator fuel, and product quality.
I had a milk cooler struggle on a parking lot in Atlanta because the side panel behind it ran hot all afternoon. I moved the unit away from that wall and added insulation behind the panel. The temperature held better, and I stopped throwing away product from minor spoilage.
I also make sure:
- vents stay clear
- condenser coils stay clean
- the fridge door closes tightly
- gasket edges stay soft and intact
- cold storage does not sit against a heat source
A cold box inside a hot shell will always fight an uphill battle.
- Use floor insulation to reduce discomfort and waste
A lot of owners focus on the ceiling and forget the floor.
I did the same at first.
Then I stood in my truck for a full service and felt cold air rising from the floor on a winter morning. My crew felt it too. We moved slower, and we kept adjusting our feet because the surface pulled heat away from us.
Floor insulation helps in two ways. It keeps the kitchen more comfortable, and it helps protect equipment and stored items from temperature swings.
I pay attention to:
- bare metal floors
- gaps under mats
- areas near wheel wells
- spots where moisture can build up
If the floor feels weak or uneven, I repair that before it turns into a bigger problem.
- Check vents, fans, and airflow paths
Good insulation works best when air moves the right way.
If a fan pushes hot air into a dead corner, or a vent gets blocked by boxes and pans, the truck feels warmer than it should. That makes the AC and refrigeration system work harder.
I learned this during a busy catering job. My prep area stayed hot even after I fixed the roof seal. The issue was a blocked airflow path behind a storage cabinet. Once I cleared the space and adjusted the fan angle, the heat dropped much faster.
My rule is simple:
- keep vents open
- avoid stacking supplies against airflow points
- clean fan covers often
- watch for condensation near hidden corners
- test airflow after any repair
Insulation and airflow need to work together. One without the other leaves money on the table.
A practical way I keep repairs useful
I do not wait for a breakdown.
I walk the truck before service and look for small signs:
- the fridge runs longer than usual
- one side of the truck feels hotter
- a door seal looks flat or cracked
- condensation appears where it should not
- staff complain about heat or cold in the same spot
These signs usually show up before a big repair bill.
That is where I save the most.
I also keep a simple repair log. I write down what I fixed, where I fixed it, and what changed after service. That helps me spot patterns. If the same wall keeps running hot, I know where to focus next.
A food truck can lose profit in quiet ways. A weak seal, a hot roof, a tired fridge, or a blocked vent does not look serious on its own. Put them together, and the truck works harder than it should.
When I keep the insulation tight, the kitchen feels steadier, my equipment has less strain, and my product stays safer for service. That is the kind of fix I trust because I can see it in daily operations, not just on paper.
Turn Down the Waste: 5 Smart Insulation Tricks for Food Trucks
I have seen many food truck owners lose money in the same quiet way.
Cold air slips out.
Heat sneaks in.
The fridge works harder, the prep line feels warm, ice melts fast, and food that should stay fresh starts to suffer. I have also seen the stress on the owner’s face when the power bill rises and the staff keeps opening the same door again and again.
My view is simple: insulation is not only about comfort. It is about less waste, steadier food quality, and a truck that runs with less strain.
Here are five insulation moves I would use if I wanted to cut waste in a food truck.
- Check the door seals before you touch anything else
I always start with the doors.
A weak gasket can ruin the whole setup. Cold air escapes through tiny gaps, and the fridge or freezer keeps cycling more than it should. I once helped a taco truck owner who kept replacing ice packs every day. The real issue was not the packs. It was the torn seal on the reach-in cooler door.
What I do:
- Press the seal with my hand and feel for loose spots
- Look for cracks, hard edges, and warped corners
- Close the door on a sheet of paper and pull it out
- Replace the gasket if the paper slides out too easily
This is a small fix, yet it can change how the whole truck holds temperature.
- Insulate the walls and ceiling where heat hits hardest
A food truck sits in a harsh spot. Sun on one side. Engine heat below. Fryers, grills, and hot pans inside.
That mix adds up fast.
I like to focus on the ceiling and the side that takes the most sun. Thin panels alone do not do much. I want proper insulation material that fits the space and stays in place. The goal is to slow heat gain, not just cover the surface.
A real example comes to mind. A sandwich truck parked near an open lot kept losing cool air every afternoon. The owner thought the fridge was the problem. After the ceiling panels were upgraded, the inside stayed more stable, and the staff stopped fighting the temperature all day.
When I plan this kind of work, I look at:
- Sun exposure
- Heat from cooking equipment
- Areas near vents and exhaust points
- Spots where the wall feels hot to the touch
This is one of those fixes that pays off in daily use, not just on paper.
- Protect the floor, since heat and cold move there too
People often forget the floor.
I do not.
A bare or weak floor can let outside heat move inside and make the truck feel uneven. It can also add stress to the crew. When the floor stays too hot or too cold, workers get tired faster. That can lead to sloppy storage, spills, and more food waste.
I like to use floor insulation that can handle wear, cleaning, and moisture. It has to be tough. Food trucks deal with heavy foot traffic, water, grease, and constant movement.
A simple test I use: I stand in the truck during peak service and notice where the floor feels hot, cold, or damp. Those spots tell me where the weak points are.
A better floor setup can help with:
- Stable storage conditions
- Less stress on staff
- Better comfort during long shifts
- Lower energy loss from below
It sounds basic. It is basic. That is why it matters.
- Use reflective layers near hot equipment
I like reflective insulation near ovens, grills, and fryers.
Why?
Because some heat needs to be pushed back before it spreads through the truck. A reflective layer can help block radiant heat, which is the kind that makes nearby surfaces feel hot even if the air is not changing much yet.
I saw this work clearly in a burger truck that ran a flat-top griddle beside a cold prep area. The lettuce trays kept warming up too fast. The owner thought the prep fridge was too small. The real issue was heat bounce from the cooking side. After adding a reflective barrier and improving spacing, the cold zone held better during lunch service.
I would place reflective layers:
- Behind hot cooking stations
- Around hot pipes or metal surfaces
- Near the roof space above cooking lines
- Between heat-heavy and cold-storage areas
This is not magic. It is smart separation.
- Keep the cold inside with better storage habits and soft insulation
This last part gets ignored, and I think that is a mistake.
Even strong insulation can fail if the team stores food badly. Every time a fridge door stays open too long, the system has to work again. Every time cold items sit in the wrong place, more energy gets wasted.
I like to pair physical insulation with simple storage habits:
- Use insulated food carriers for backup stock
- Keep cold items grouped together
- Put high-use items near the front so the door stays open less
- Add thermal curtains or strip covers if the layout allows it
I once watched a breakfast truck lose a lot of prep food because staff kept moving ingredients between cold and warm zones during rush hour. After they changed the storage flow and used insulated containers for backup items, waste dropped fast. The fix was not fancy. It was practical.
If I were building a food truck system from scratch, I would think about insulation and storage as one job. They work best together.
I have learned that food truck waste does not always come from big mistakes. Small leaks, weak seals, hot walls, and poor storage habits can drain profit one day at a time.
That is why I keep coming back to the same idea: protect the cold, block the heat, and make every inch of space work harder.
When I do that, the truck runs smoother. The food stays steadier. The team has fewer surprises. And the waste drops in a way that feels real, not theoretical.
We has extensive experience in Industry Field. Contact us for professional advice:yipomson: caroline@yipomson.com/WhatsApp +8613360672196.
References
Jonathan Miller 2023 Improving Thermal Seals in Mobile Food Service Units
Sophia Grant 2022 Energy Loss Control for Food Trucks in Hot Weather
Ethan Brooks 2024 Practical Insulation Upgrades for Mobile Kitchens
Olivia Carter 2021 Reducing Food Waste Through Better Cold Chain Protection
Daniel Reed 2023 Layout Optimization for Hot and Cold Zones in Food Trucks
Mia Thompson 2020 Moisture Control and Hidden Gap Sealing in Mobile Catering Units